Progress Update & Pictures
Good evening everyone!
I've made some good progress since the last post *ahem* a week and a half ago. I've not gotten a lot of soldering done, as temperatures have been well into the 90's for quite a while and I do not have an air conditioner installed in my current abode.
However, that has not stopped progress in other areas, namely
Construction
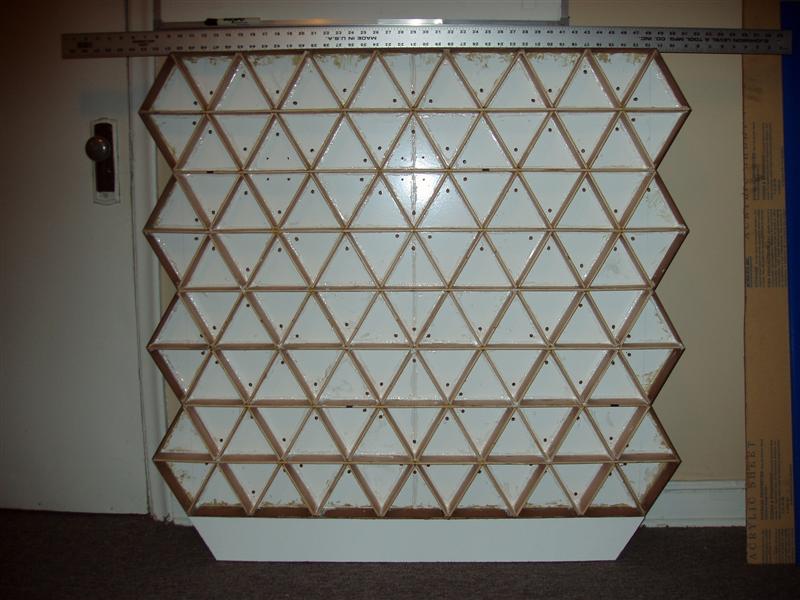
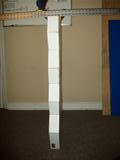
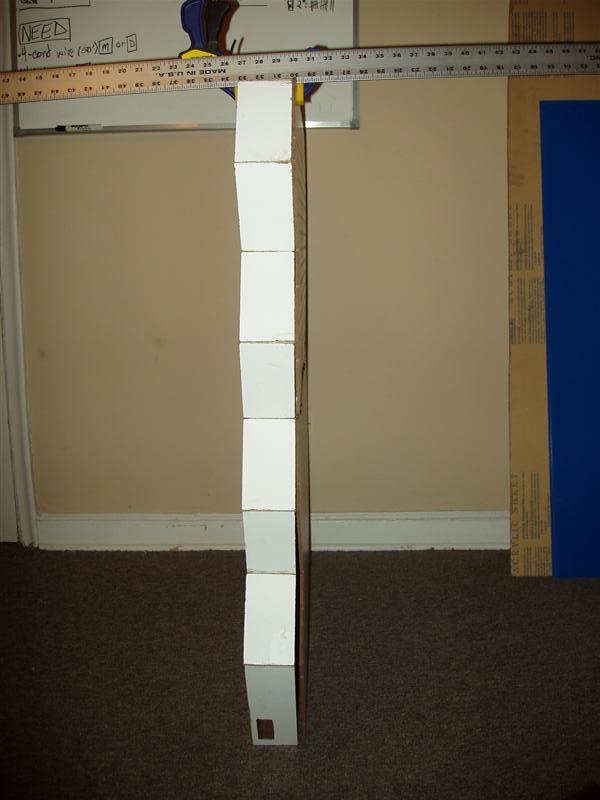
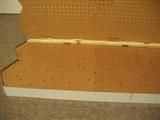
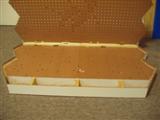
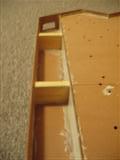
Here's a frontal and side view of the current progress (with ruler for scale):
Front

Side
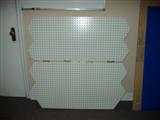
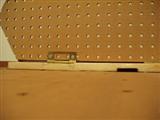
I cut and attached the second piece of pegboard to the spare 1x3, again with 2 hinges. This leaves the horizontal split, as seen here:

I have taken the undoable step of gluing the 1x3 to the floor of the back cavity, using Liquid Nailz (but of course!).
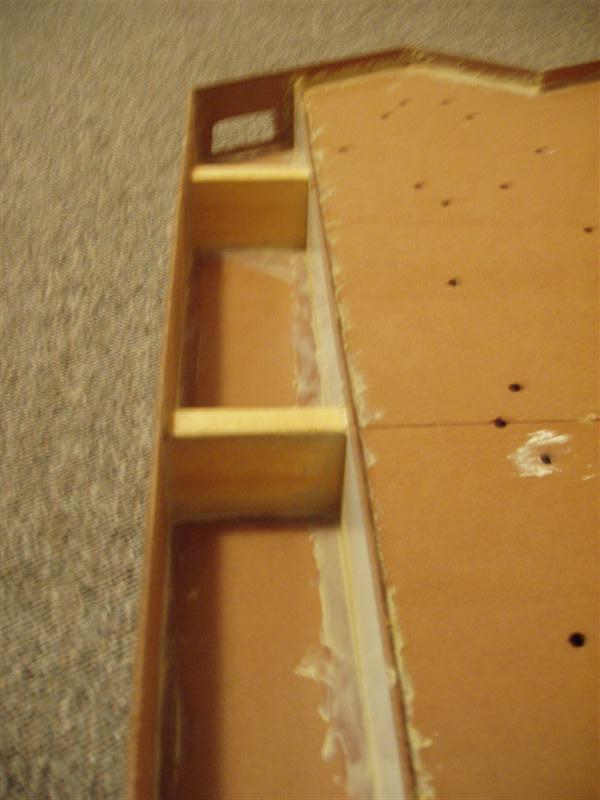
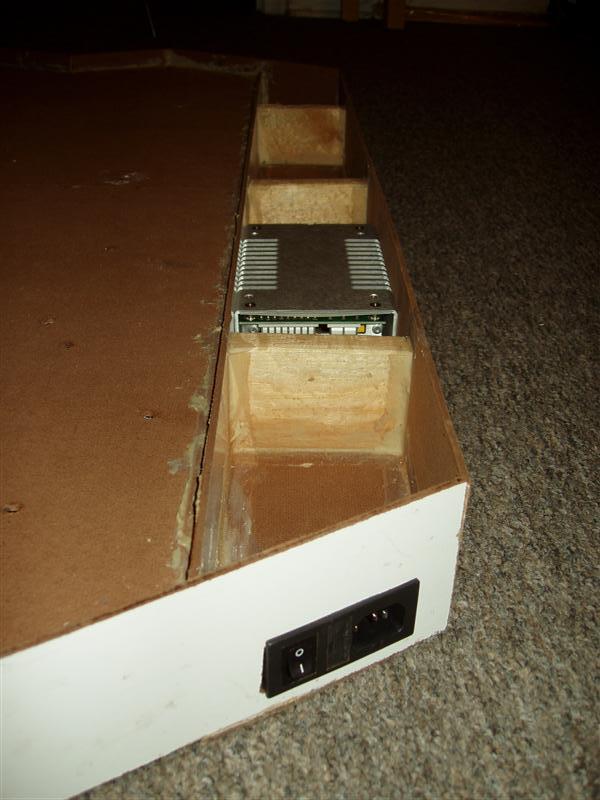
The following three pictures show the top and bottom cavity, as well as the 1x3 and the wiring channels I've dug into the wood:
Top Cavity
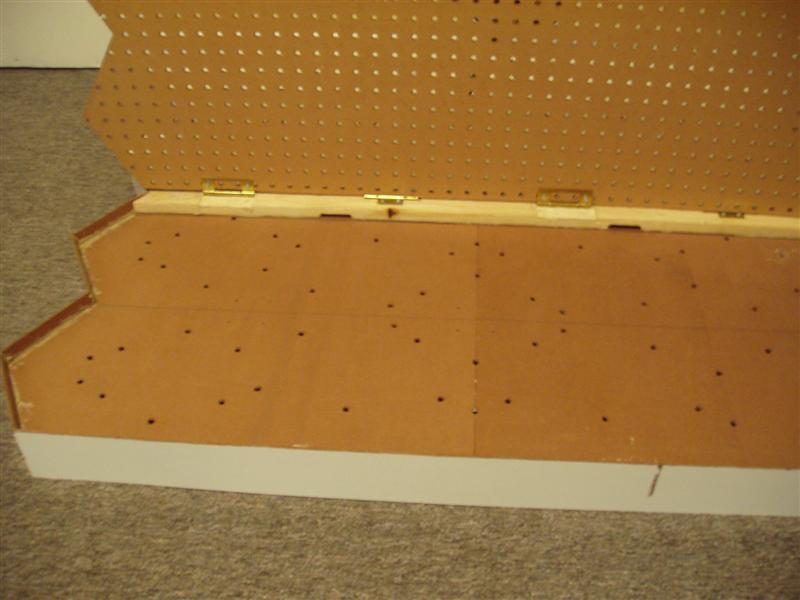
Bottom Cavity

Close-up

In the bottom cavity picture, you can also see the shadow box, which will house the power supply and any other necessary power parts.
The last thing I've done is cut a hole for the power plug-and-switch plate. In the end, the hole is slightly too large in one direction; I may have to plug it up with some glue or something when I finally secure the plate to the wall.
Shadow Box
Power Plate and Power Supply

I finally decided it was time to get an actual weight estimate for this puppy.
Weighing
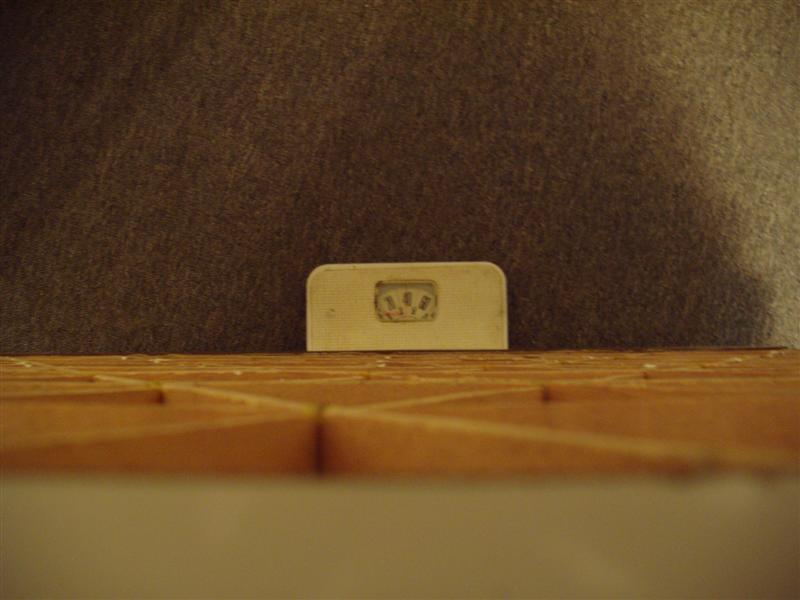
Much to my surprise, it is currently tipping the scales at about 35 pounds! And this is without the acrylic on it! I did a quick weighing with an uncut piece of acrylic (1 of 2 needed for each module), it was almost 50 pounds. I may have to drop the acrylic thickness from 1/4" to 1/8" or 1/16". I don't really need the thickness for anything anyway.
Oh well, now I have a few square feet of 1/4" acrylic for any random projects that pop up.
Anyone want to buy it, cheap?
Labels: Construction
posted by Jurek @ 7:46 PM
![]()
![]()
0 Comments:
Post a Comment
Links to this post:
Create a Link
<< Home