Progress Update
Construction
I cut and attached another 7 pieces of marker board today; 6 side pieces and the smaller bottom piece. This smaller piece will separate the pixels from where the power supply will reside. I still haven't quite figured out how to construct the bottom box, as it needs to attach to the existing wall (and, indeed, be part of it). I thought I had it all figured out, but after attaching the bottom piece today, I realized that there is no support for anything.
Pictures
As (sorta) promised, here are a bunch of pictures with the latest progress (the last ones were back in April!):
100 soldered LED wire segments:

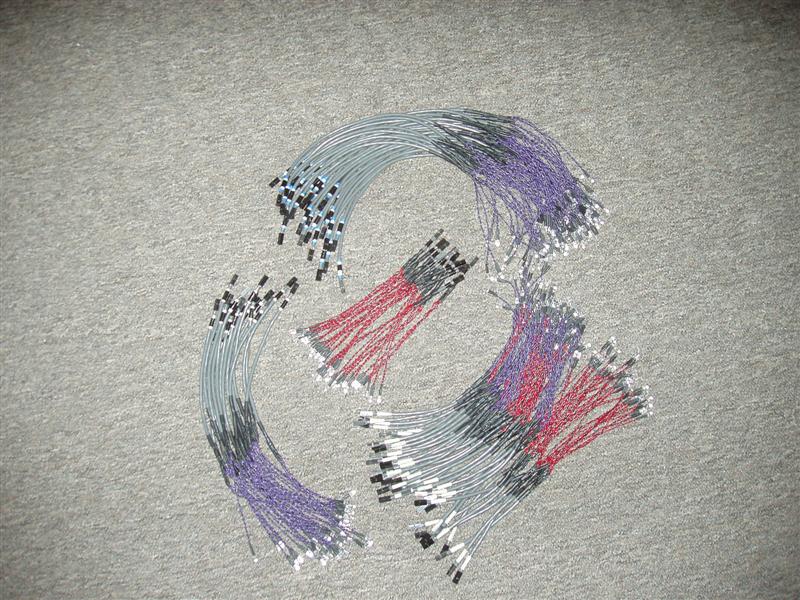
The differently-patterned bands near the header indicate how long each wire segment is.
- Black is 2" (12 done)
- Tan is 6" (41 done)
- Tan-Black-Tan is 8" (17 done)
- Blue-Tan-Black-Tan-Blue is 12" (30 done)
- Blue is 5"
- Blue-Black-Blue is 4"
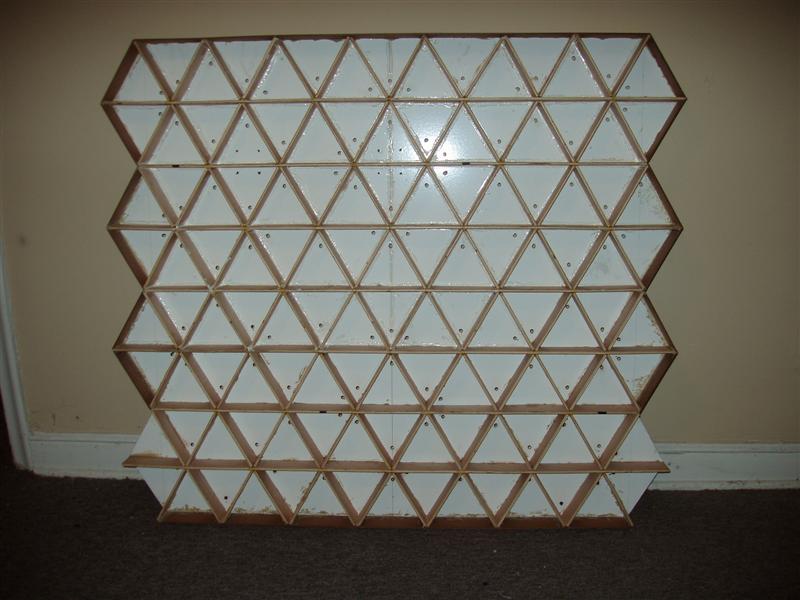
Current construction status:
Front view, showing wire holes and side pieces (4 still need to be attached at the bottom)

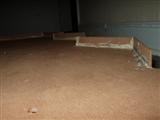
View showing the back side (the floor you see is the back side of the white marker board). The height of the outside walls, visible on the top and right of the picture, is a little under 1 inch. Also visible is my wonderful joint-gluing work, using Liquid Nailz.
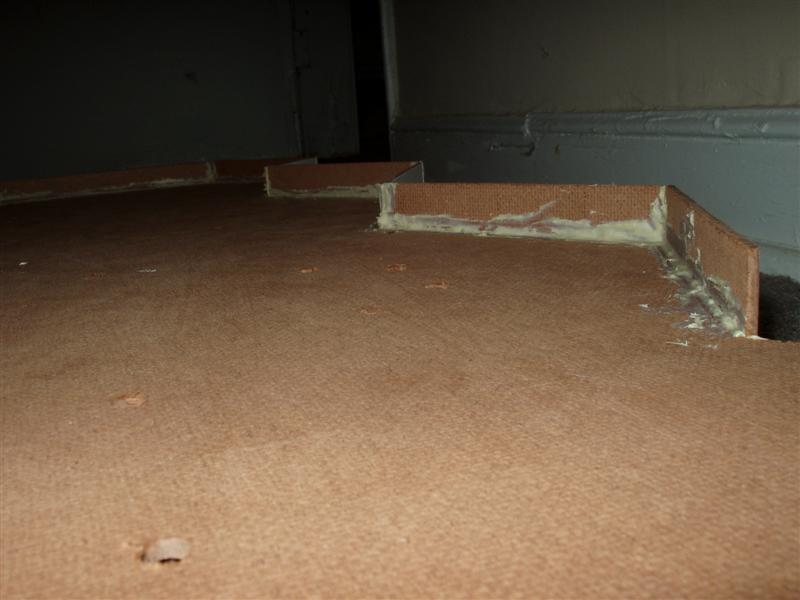
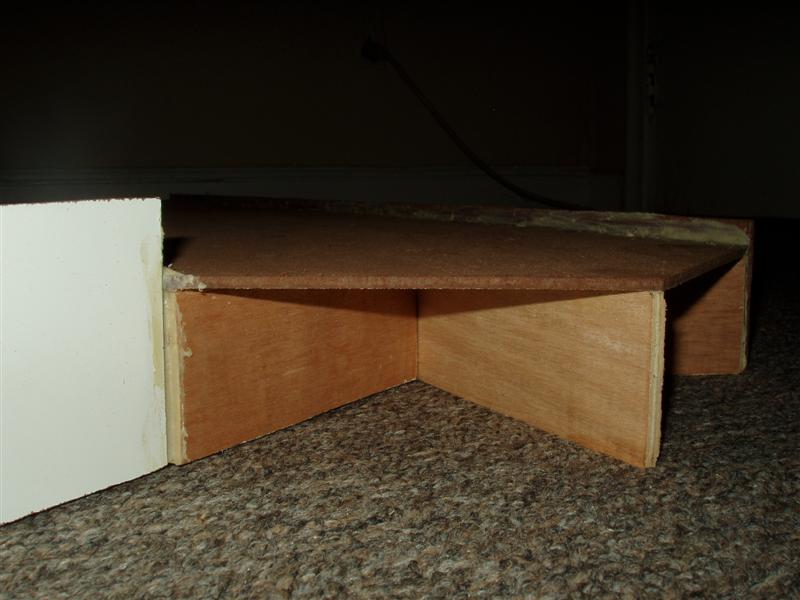
Side view, near the bottom of the wall, where there still needs to be two pieces attached. This shows the entire height (depth, really) of everything. The marker board visible on the extreme left is 3" tall. The plywood pixel dividers at the middle/bottom are 2" tall. The shorter bottom marker board piece that's barely visible along the back edge is 2.5" tall.

Labels: Construction
posted by Jurek @ 6:28 PM
![]()
![]()
1 Comments:
Nice pics, now I have a better idea how it's all looking.
Post a Comment
Links to this post:
Create a Link
<< Home