Construction Progress
Construction
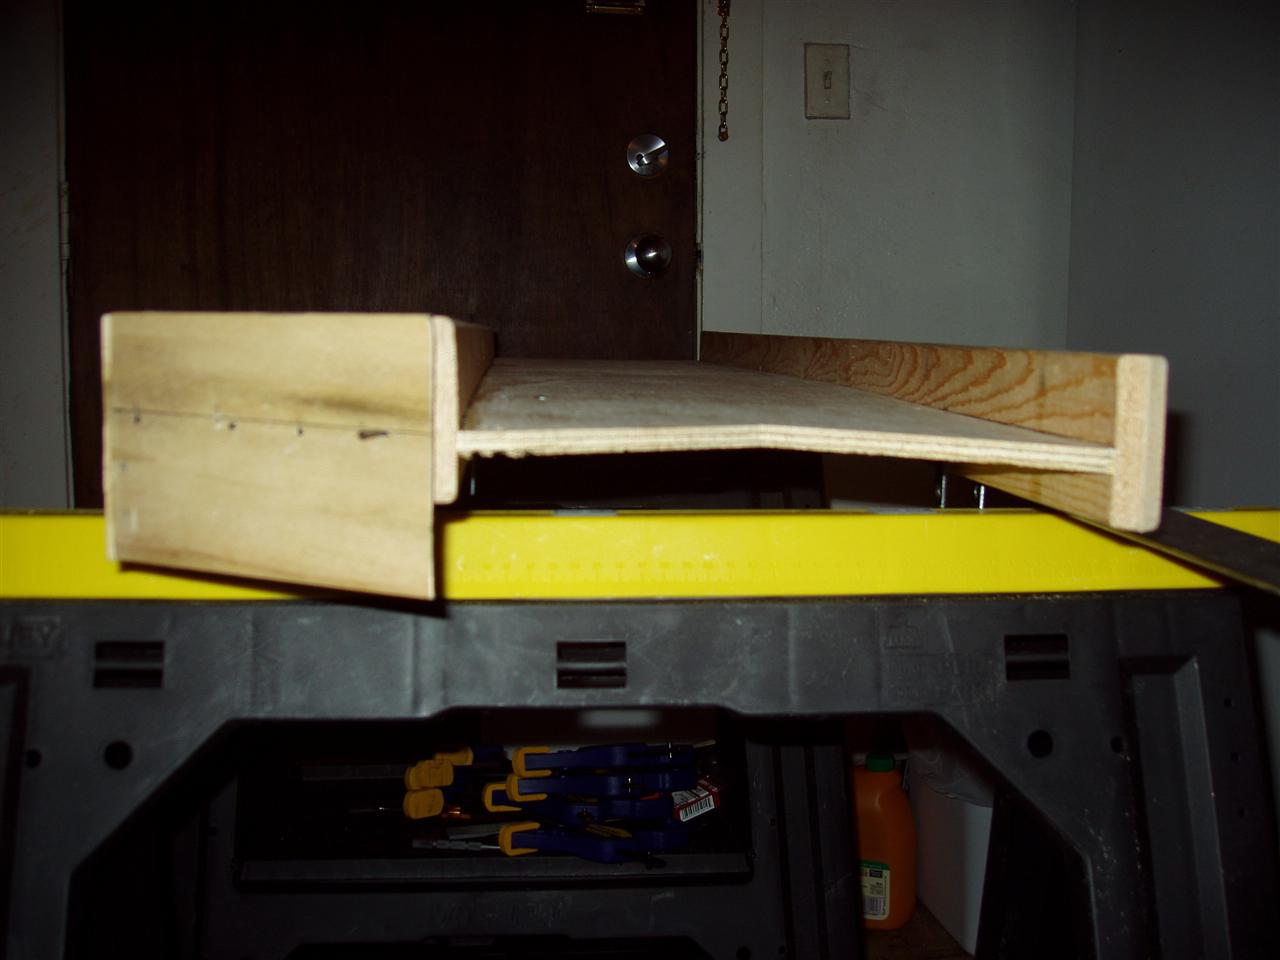
I've made pretty decent progress over the last week with construction of the wall. I am now up to 7 pieces attached: 3 outer walls, 2 inner floors, and 2 inner walls. Things are starting to finally come together. I've got a decent system for attaching the pieces together, even though right now it seems sorta flimsy. I think that once I start attaching the outer wall pieces (the smallish zig-zag pieces that are 5.5" long), the inner floor and walls will stiffen up.
Just in case it doesn't start firming up, I came up with a way to hopefully stabilize everything.
In these pictures:

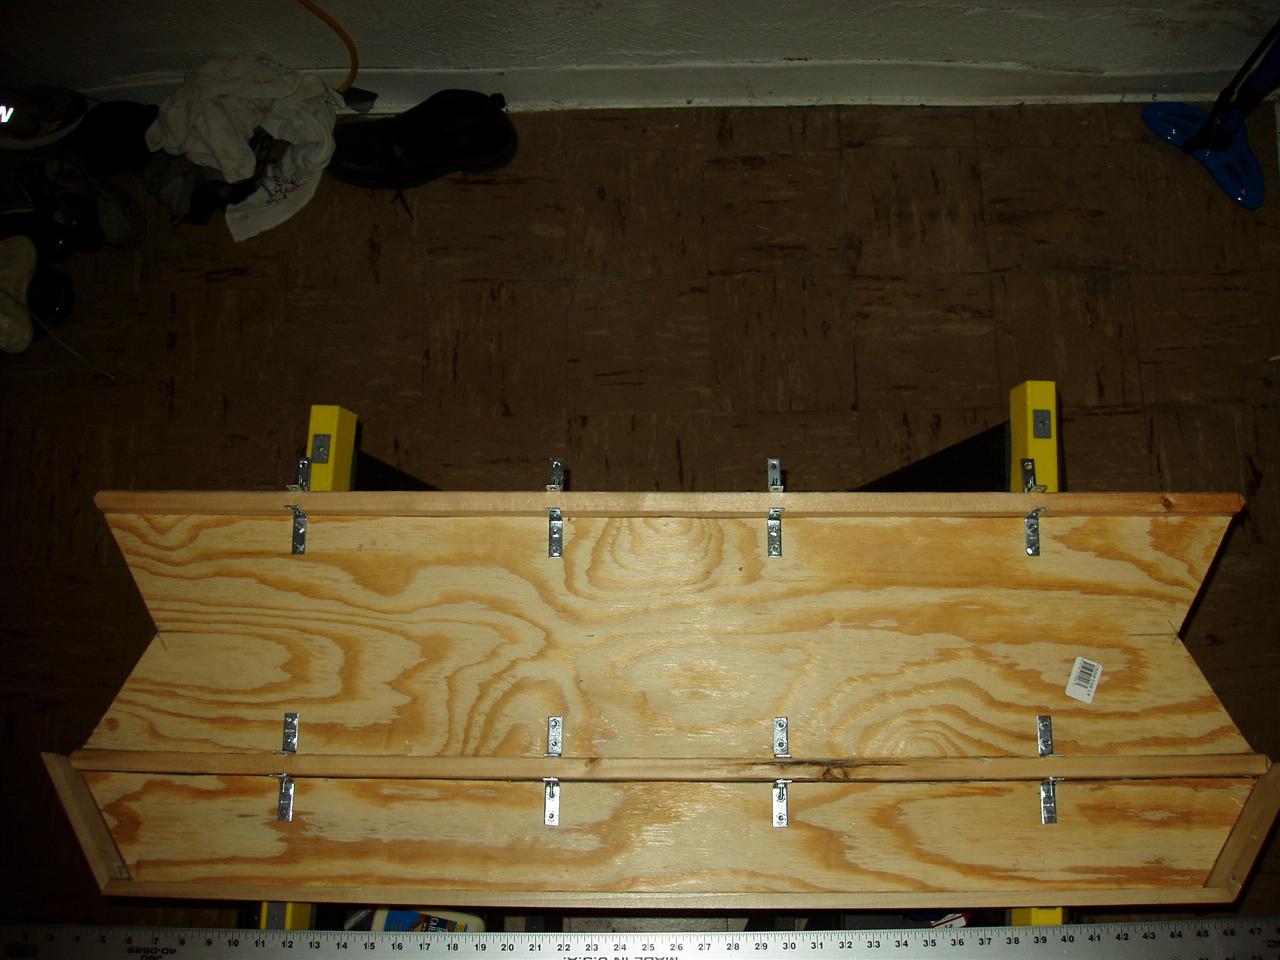
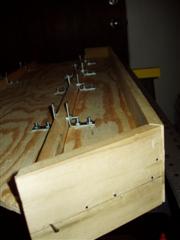
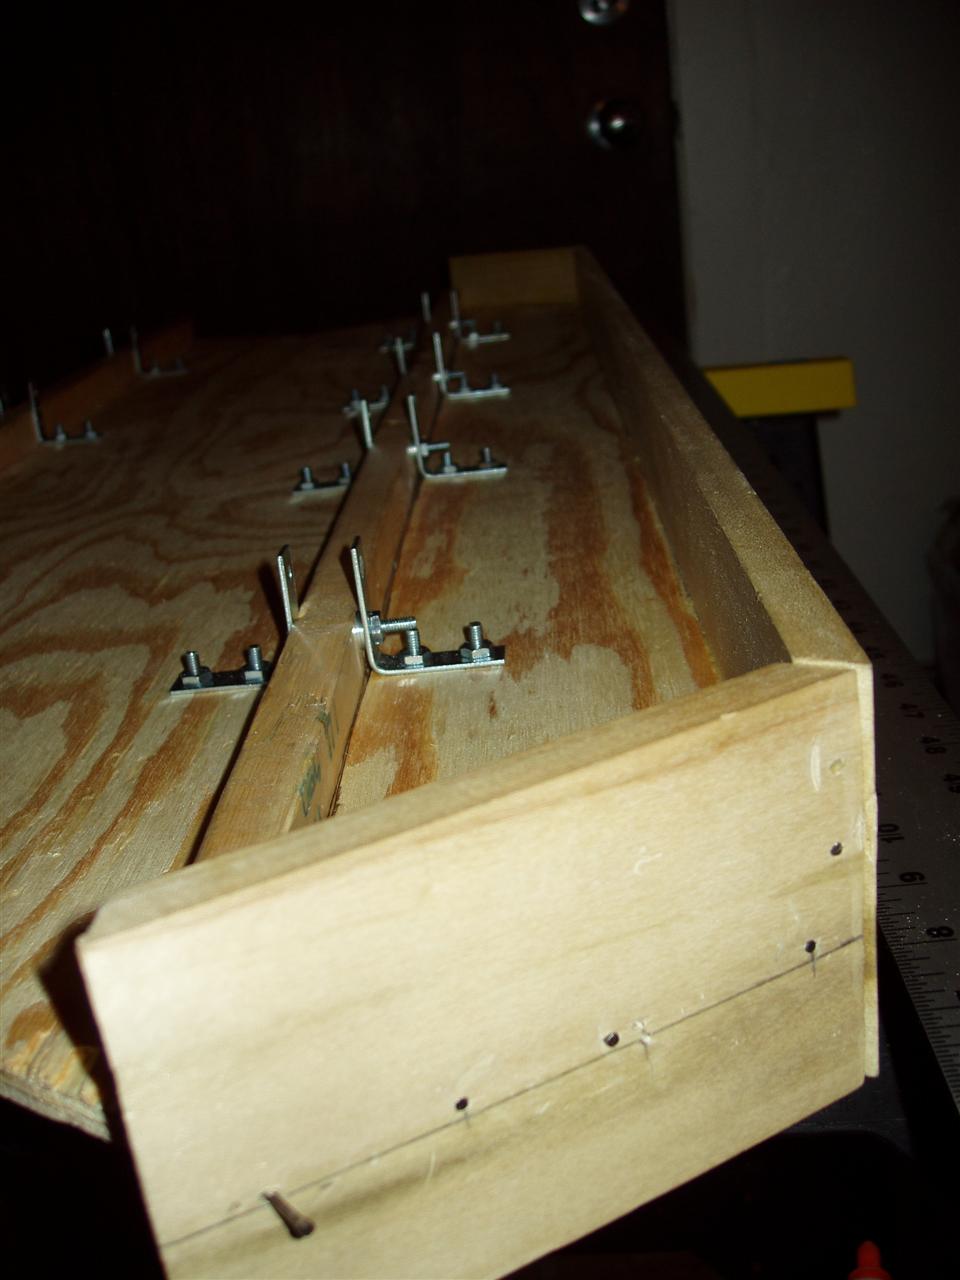

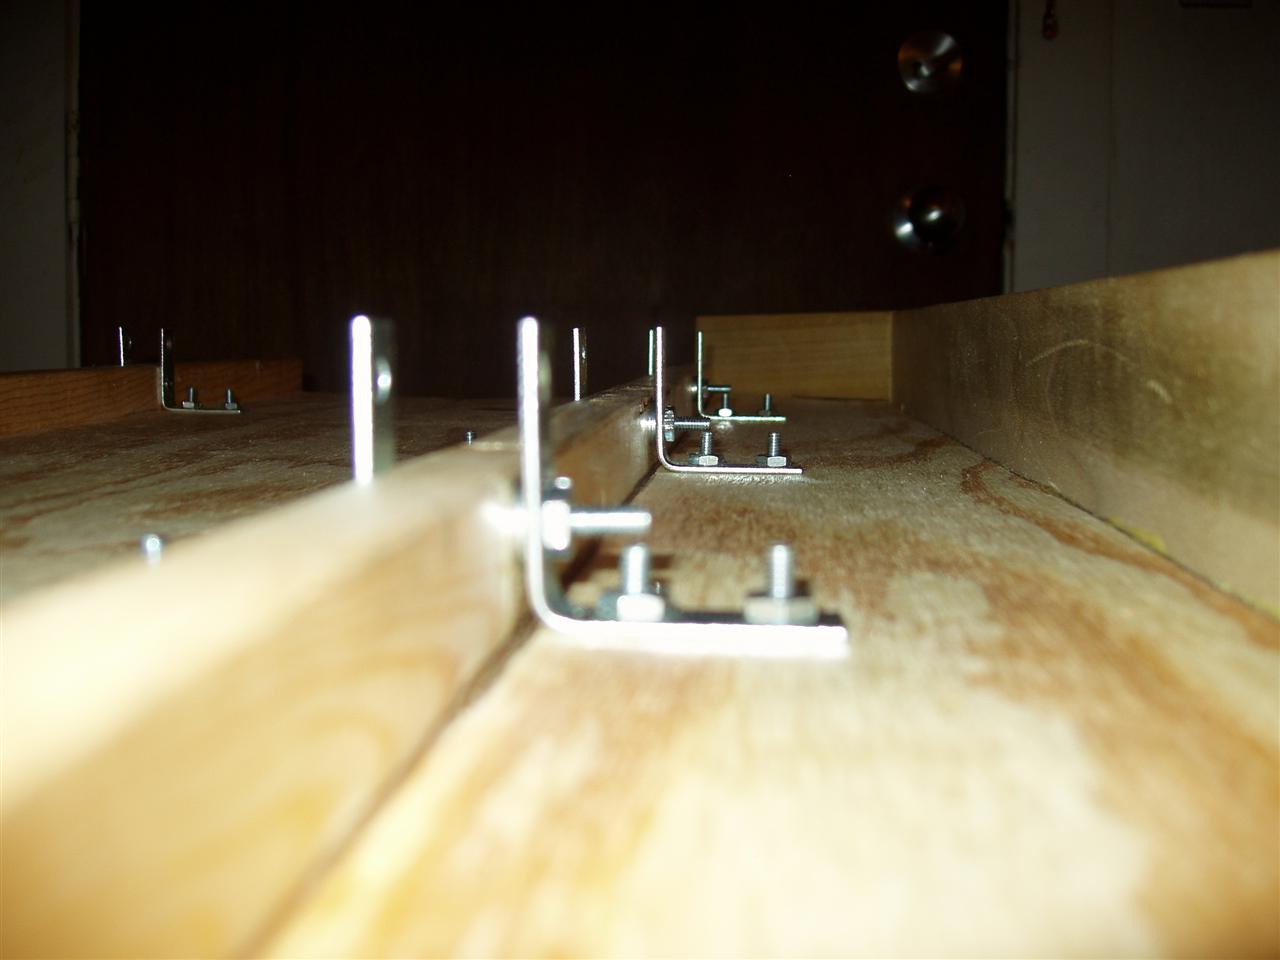
You can see that the inner walls are attached to the inner floor pieces using angle brackets. The amount of wood sticking out on the bottom of the inner walls is such that I can only use one of the holes of the brackets, leaving another one just sitting there. I've been lining up these brackets for the last 4 mounted (as you can see in the top picture). What I have planned is using a 3' threaded rod through each set of brackets (4 threaded rods per wall section, 2 wall sections total) and then using screws on either side of the bracket pairs to adjust their positions if needed.
More pictures!
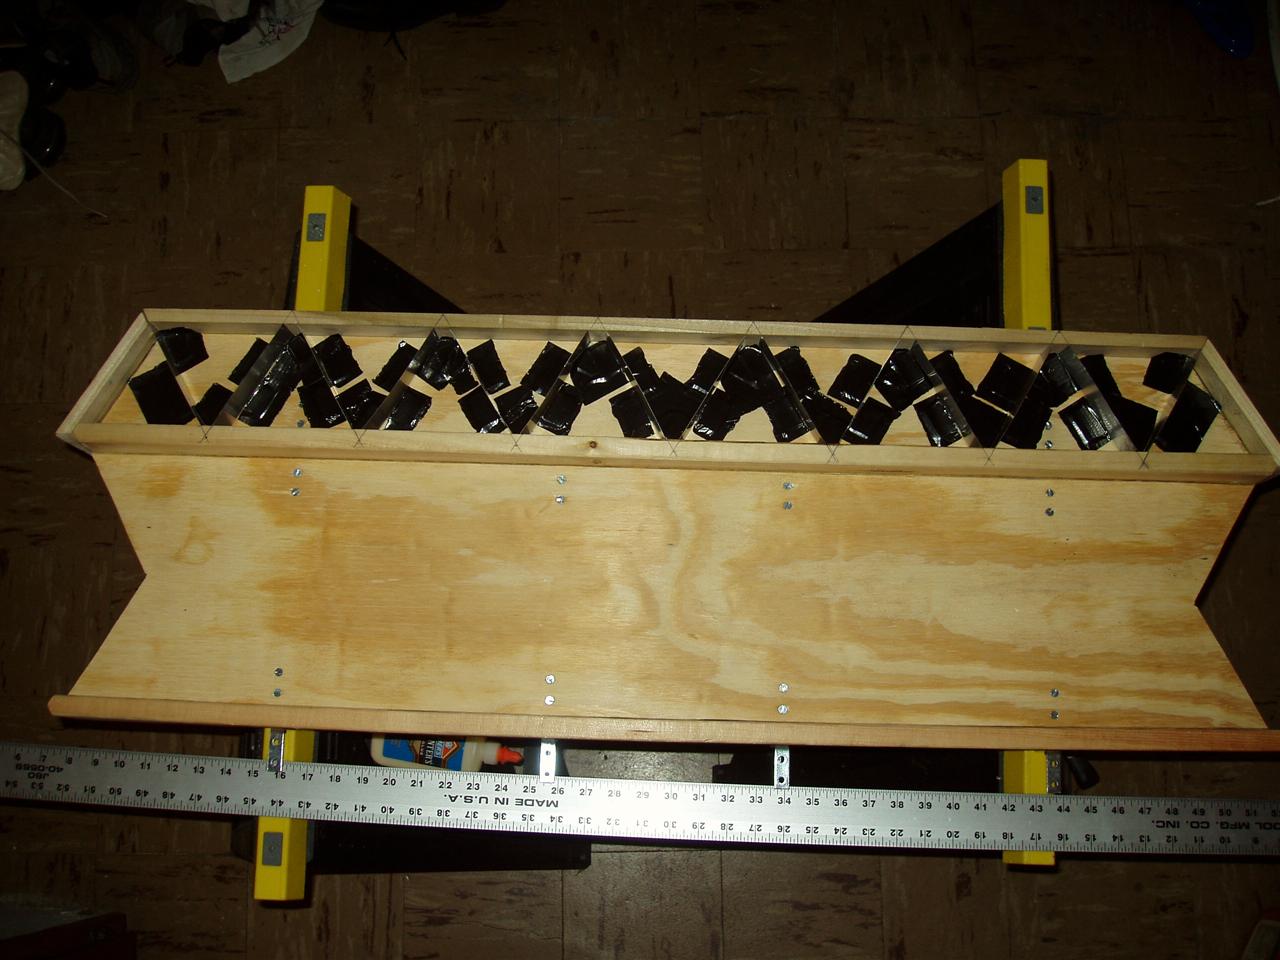
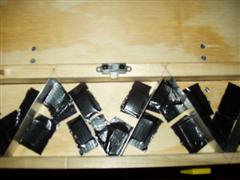
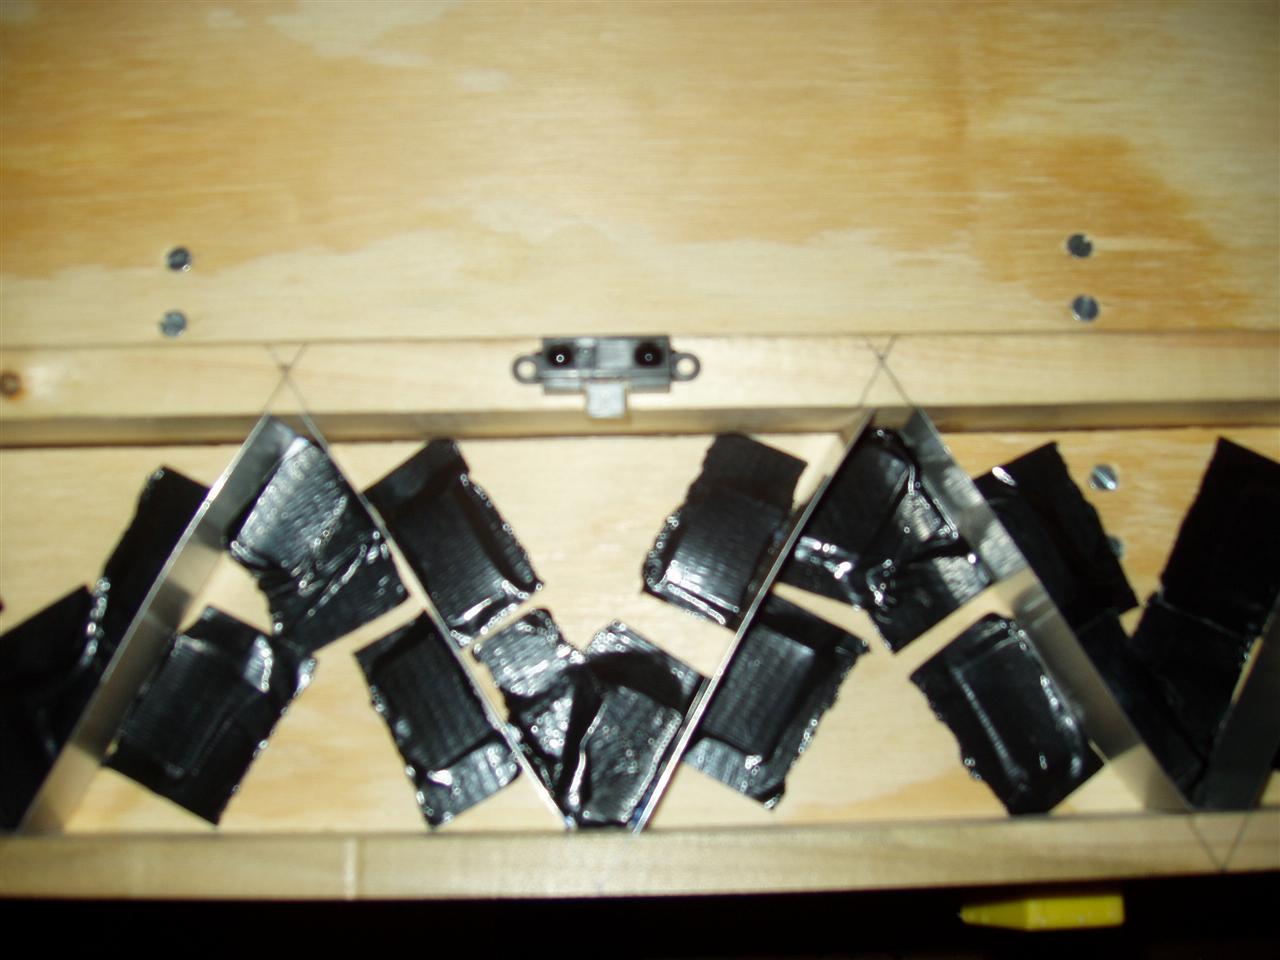
Top-down view of the top side:

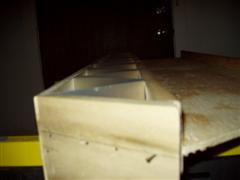
Side views:

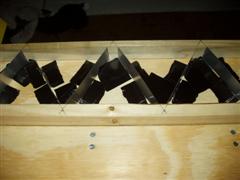
I had been playing around with different ideas for attaching the aluminum flashing to the wall. What I had initially decided on was to cut one large piece that zig-zagged all the way across a given pixel row (essentially being 4.4"x14, which is 61.6" long) and then attach it using carpet tacks. I was very leary about the first and eventually abandoned the idea yesterday in favor of doing single 4.4" long pieces (14 of them of course). I still had an uneasy feeling about using the carpet tacks to attach them to the wood. I initially tried using wood glue, but that failed miserably.
I was getting ready to go about using the carpet tacks, even taping down the pieces with duct tape when it dawned on me. I had this fear of using duct tape in the final version of it, for absolutely no reason. The pixels were going to be filled with aluminum foil anyway, so what would a little duct tape hurt? It turned out pretty well, as you can see from the pictures below, and was a helluva lot easier, less error-prone, and more error-recoverable (if I screwed up with the carpet tacks, then I end up with a bunch of small holes in the plywood) than using the carpet tacks.
Close-up of the pixels with aluminum flashing for pixel dividers, affixed with duct tape (The pencil marks are how the actual pixel divisions end up):
Distance sensor:
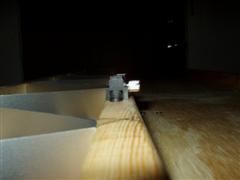
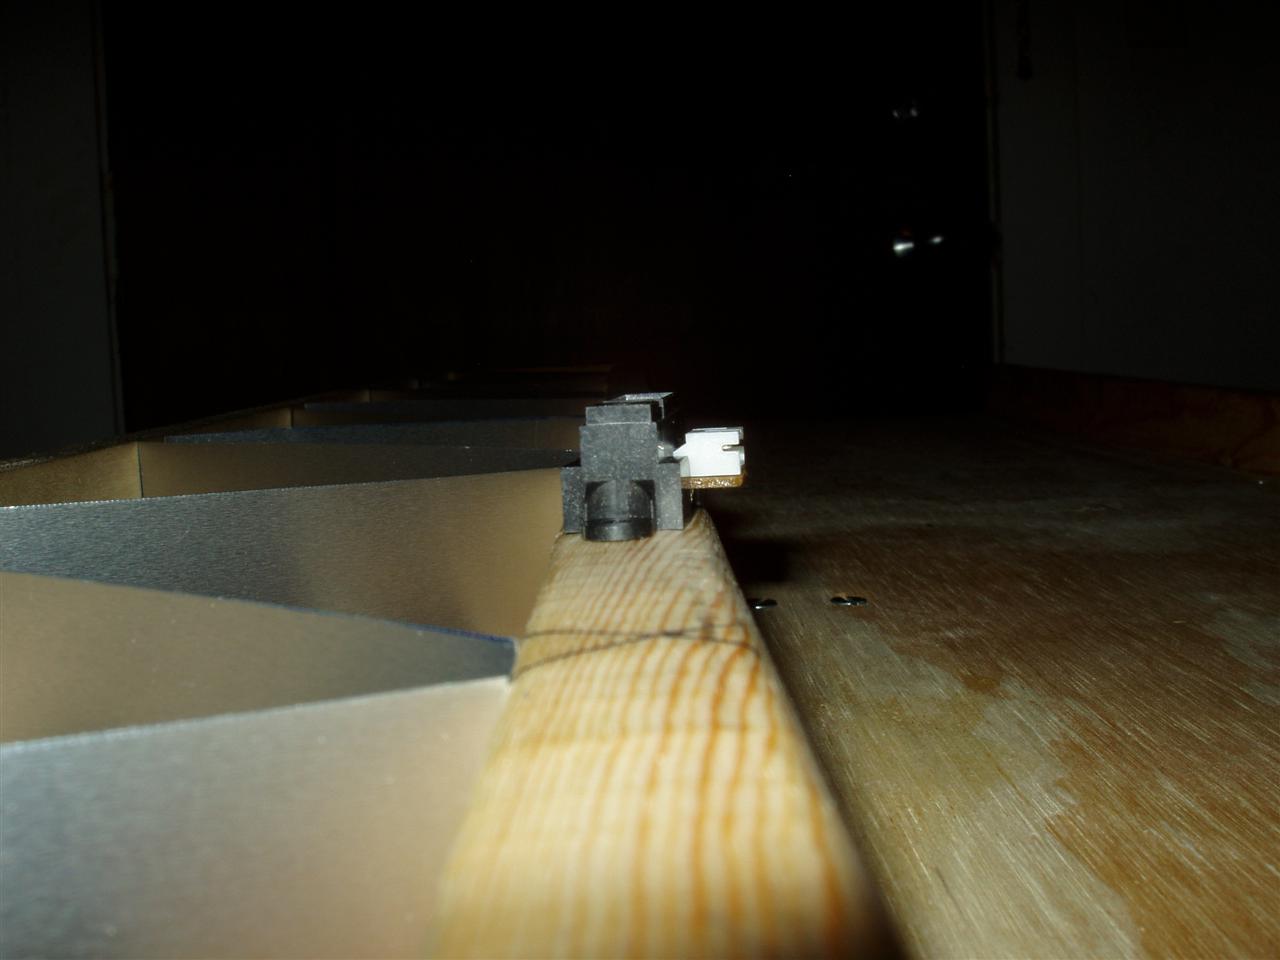
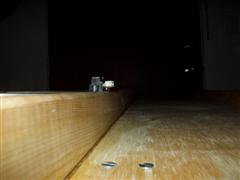
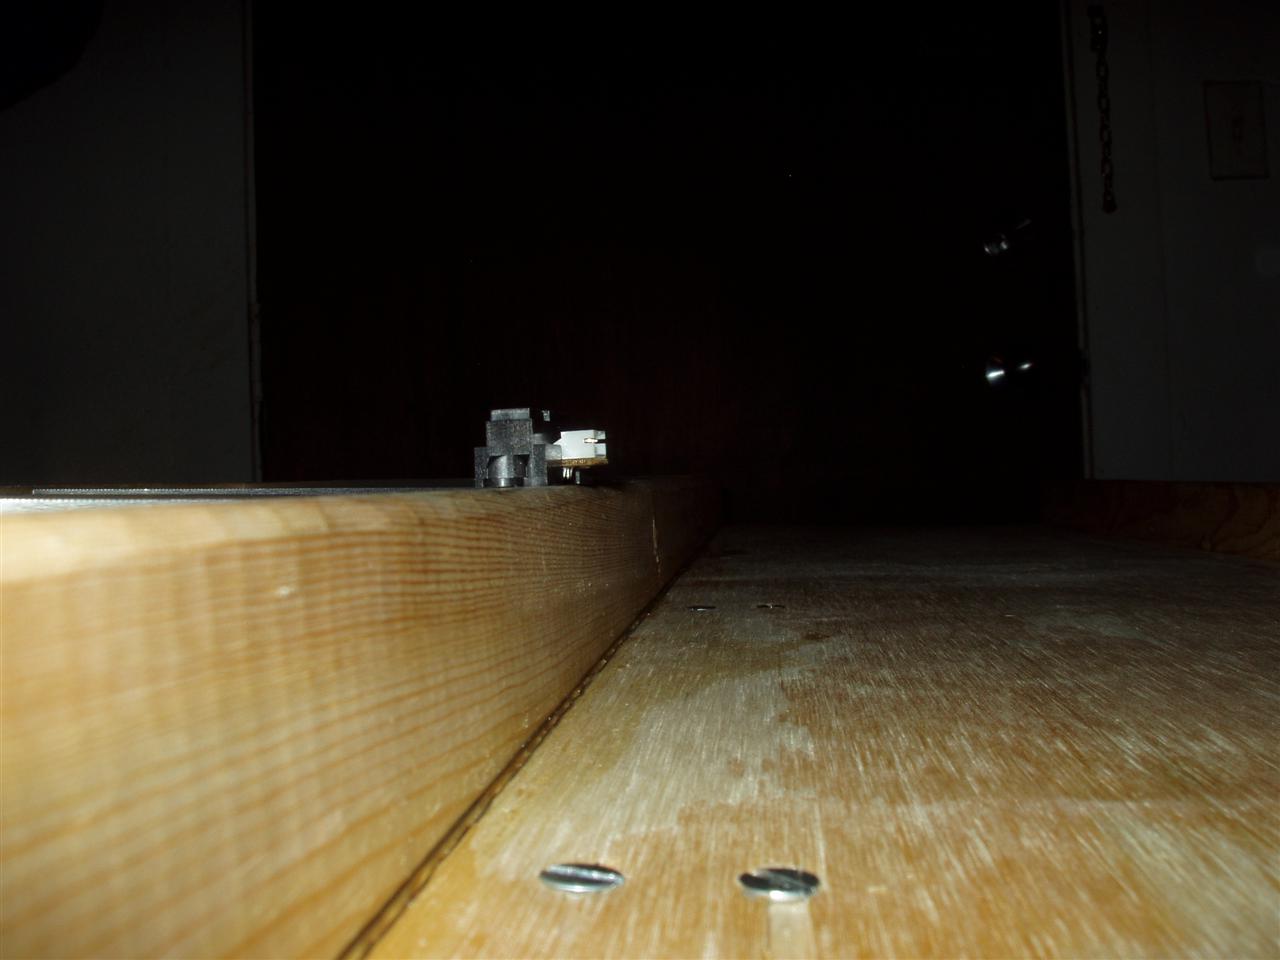
I decided to pull out the distance sensor just to see how it fit with the inner walls. My idea is to cut out a recess in the inner walls for the sensors, so that they end up flush with the top of the wall, like everything else. The connector will stick into a pixel a little bit, but I don't think it'll be anything major.
Labels: Construction
posted by Jurek @ 12:55 AM
![]()
![]()
0 Comments:
Post a Comment
Links to this post:
Create a Link
<< Home